
Getting started with AWS begins with something simple yet essential: creating your AWS account. Whether you’re setting up a personal project, launching a startup idea, or preparing cloud infrastructure for your organization, this first step lays the foundation for everything that follows.
But the process can raise questions, especially if you’re new to cloud platforms. Should you sign up as an individual or a business? What is a root user? And why does AWS ask for an IAM username during login? This guide on how to create an AWS account breaks down each step in a beginner-friendly way and clears up common doubts, so you can move forward with clarity and confidence.
Creating an AWS account is the first step toward accessing powerful cloud services. Follow these simple steps to set up your account correctly from the start.

Start by going to the official AWS homepage: https://aws.amazon.com
In the top right corner, click the “Create Account” button. This will take you to the account registration page.
If you’re wondering whether AWS is free: yes, AWS offers a Free Tier, so you can get started without paying anything up front.
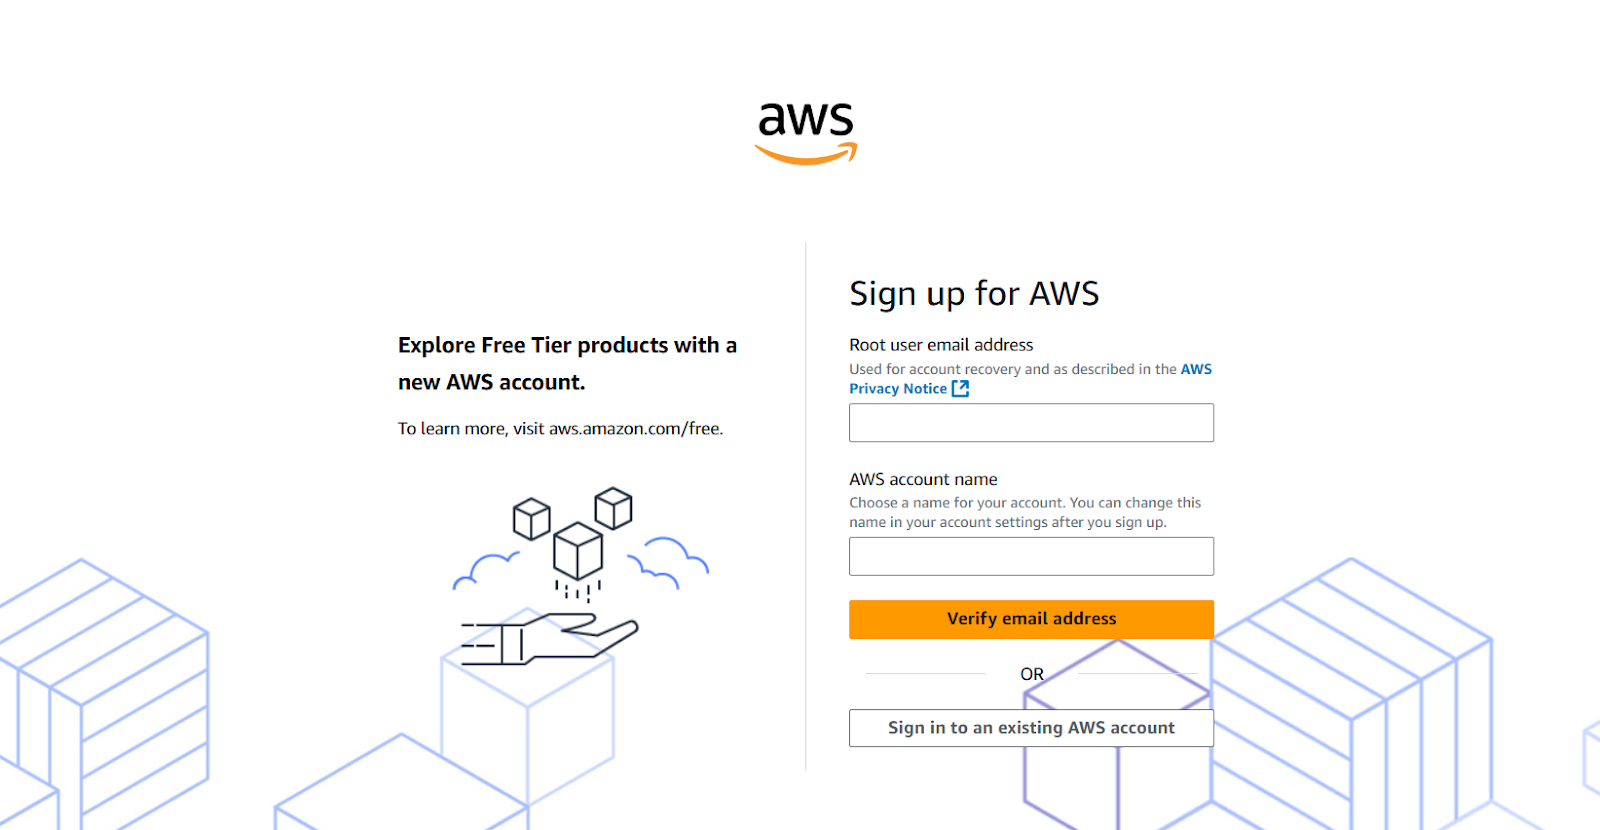
On the first registration screen, you’ll be asked to provide:
Tip: For companies, it’s best to use the company name as the AWS account name. This makes account identification easier, especially if you’re managing multiple projects or environments.
Click “Continue” once this information is entered.
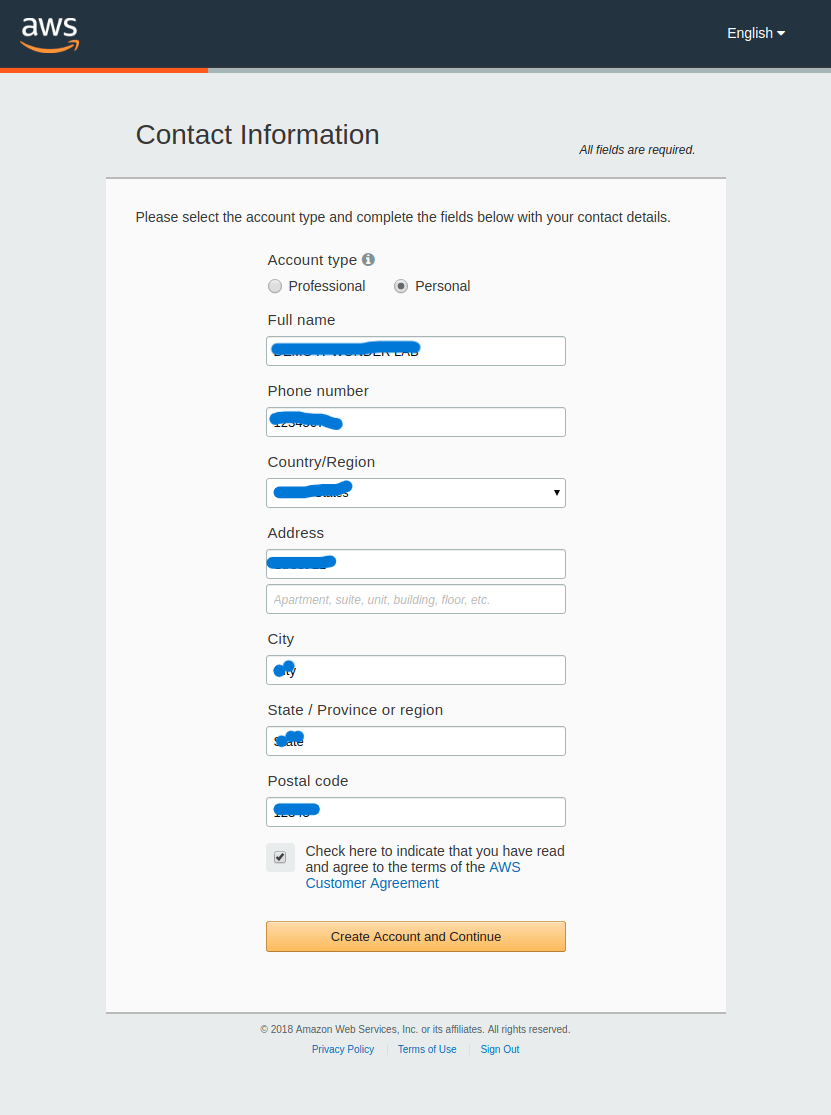
Next, you’ll choose the account type:
Depending on the type, you’ll enter details such as:
Don’t worry if you’re a freelancer or a small business, just select the option that best describes how the account will be used.
Click “Continue” once you’ve filled in all the required fields.

Even though AWS offers a Free Tier, they still require a credit or debit card to verify your identity.
You’ll need to enter:
Security Note: AWS places a temporary authorization charge (around $1 or ₹2 INR) to check if the card is valid. This is not a fee and will be automatically refunded.
AWS won’t charge you unless you use services beyond the Free Tier limits. You’ll also get regular billing alerts and detailed usage breakdowns.
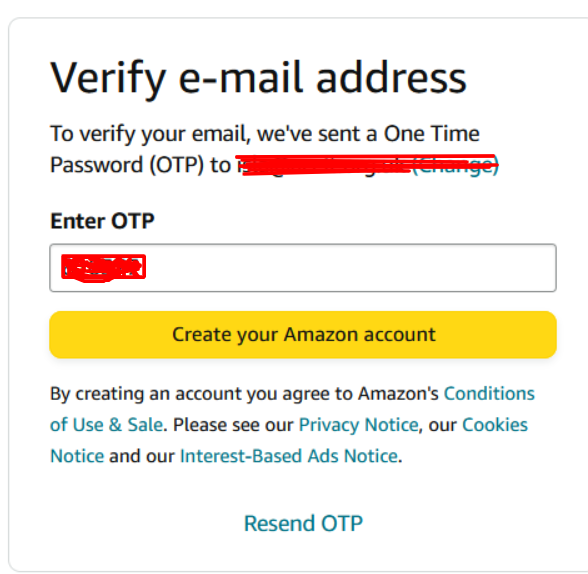
To ensure that you’re a real person, AWS performs a quick identity verification.
Here’s what you’ll need to do:
Once completed, AWS will confirm your identity and move you to the next step.

Next, AWS will ask you to choose a support plan. These plans determine how much customer service help you’ll receive.
You can choose from:
For most new users, the Basic Plan is enough to explore AWS and build small applications.
Choose your plan and proceed.
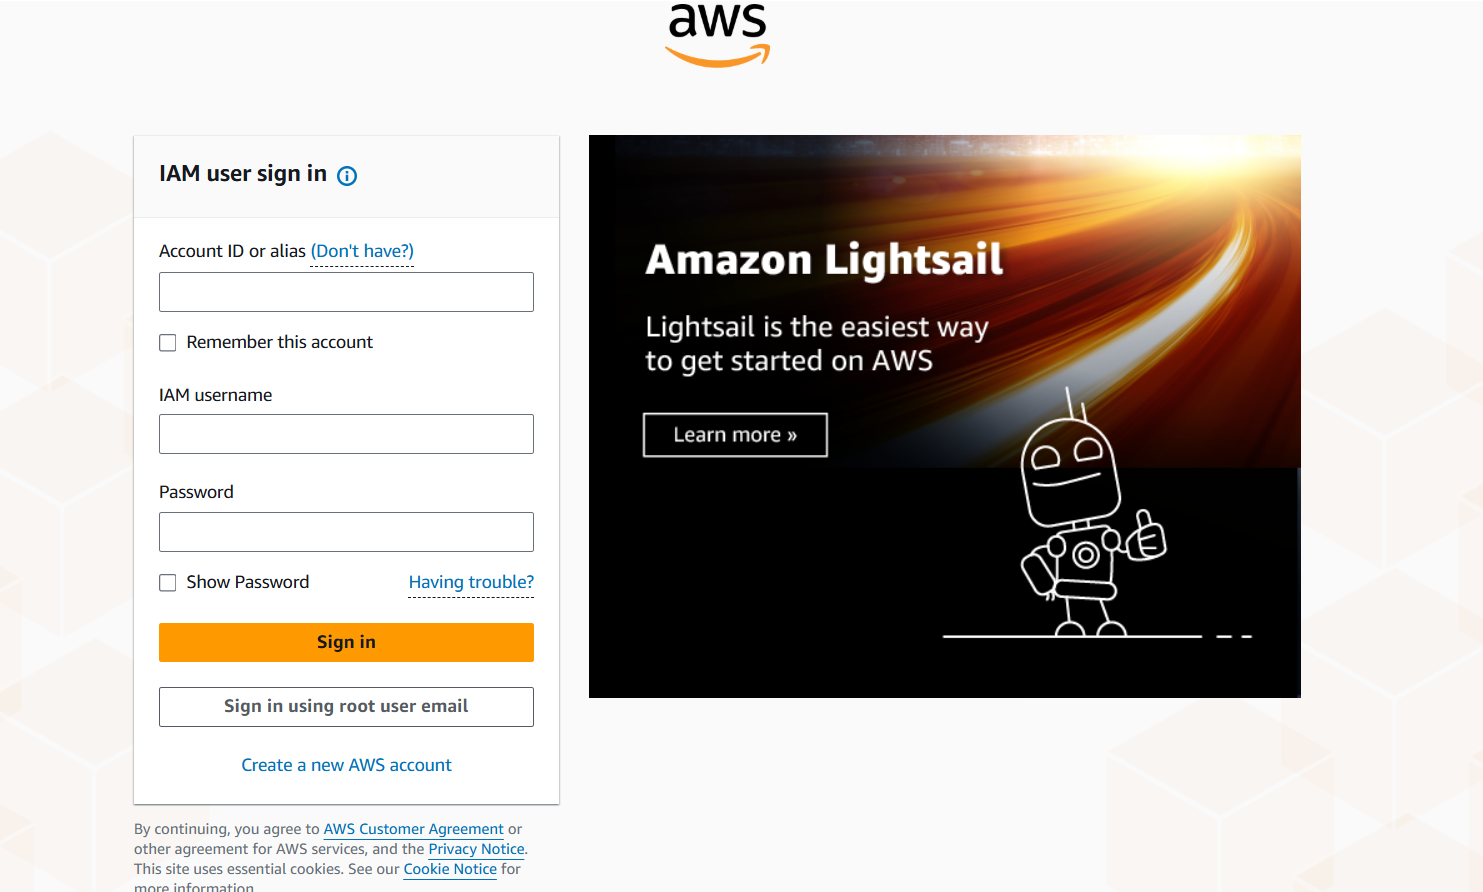
Once your AWS account setup is complete, it’s time to log in and explore your cloud dashboard, known as the AWS Management Console.
To sign in:
Important: If this is your first time logging in, select “Root user” and enter the email address you registered with. IAM users are not created by default; you must set them up manually after logging in as the root user.
Knowing how to create an AWS account is just the beginning. While the signup process is simple, the steps that follow, like configuring IAM roles, setting up security, and managing services, can quickly become complex, especially for growing projects or business-critical workloads.
For teams or businesses aiming to build reliable cloud environments without unnecessary trial and error, choosing to hire AWS developers can make the process much more efficient. With the right expertise, the journey beyond account creation becomes smoother, more secure, and better aligned with your long-term goals.


